
BRAKE PADS
Background
I realize there's other DIYs out there, but here's my personal experience and own take on this job. This job isn't involved as some of the other DIYs make it out to be. I found I didn't need as many tools or steps as others have listed. But I still thank them for the inspiration. I have a solid background in BMW and this job was much easier than those cars (even though they're not that hard as well) My 2016 IS200t has 11,100 miles on them and the pads are at 4mm. I drive my car moderately, not too easy and not too hard. 50/50 city and highway. These high friction pads wear out blazingly fast. I did not turn the rotors, I left them as is. I figure if others can get 60k out of their F-Sports with low-friction pads, then the rotors should last a bit longer. I don't think the rotors know any different what pads they have. Even though, if I suspect any excessive rotor wear or abnormal noises, I'll replace the rotors. I just thought 11,000 miles was unnecessary. Very minimal lip on them. They still look decent.
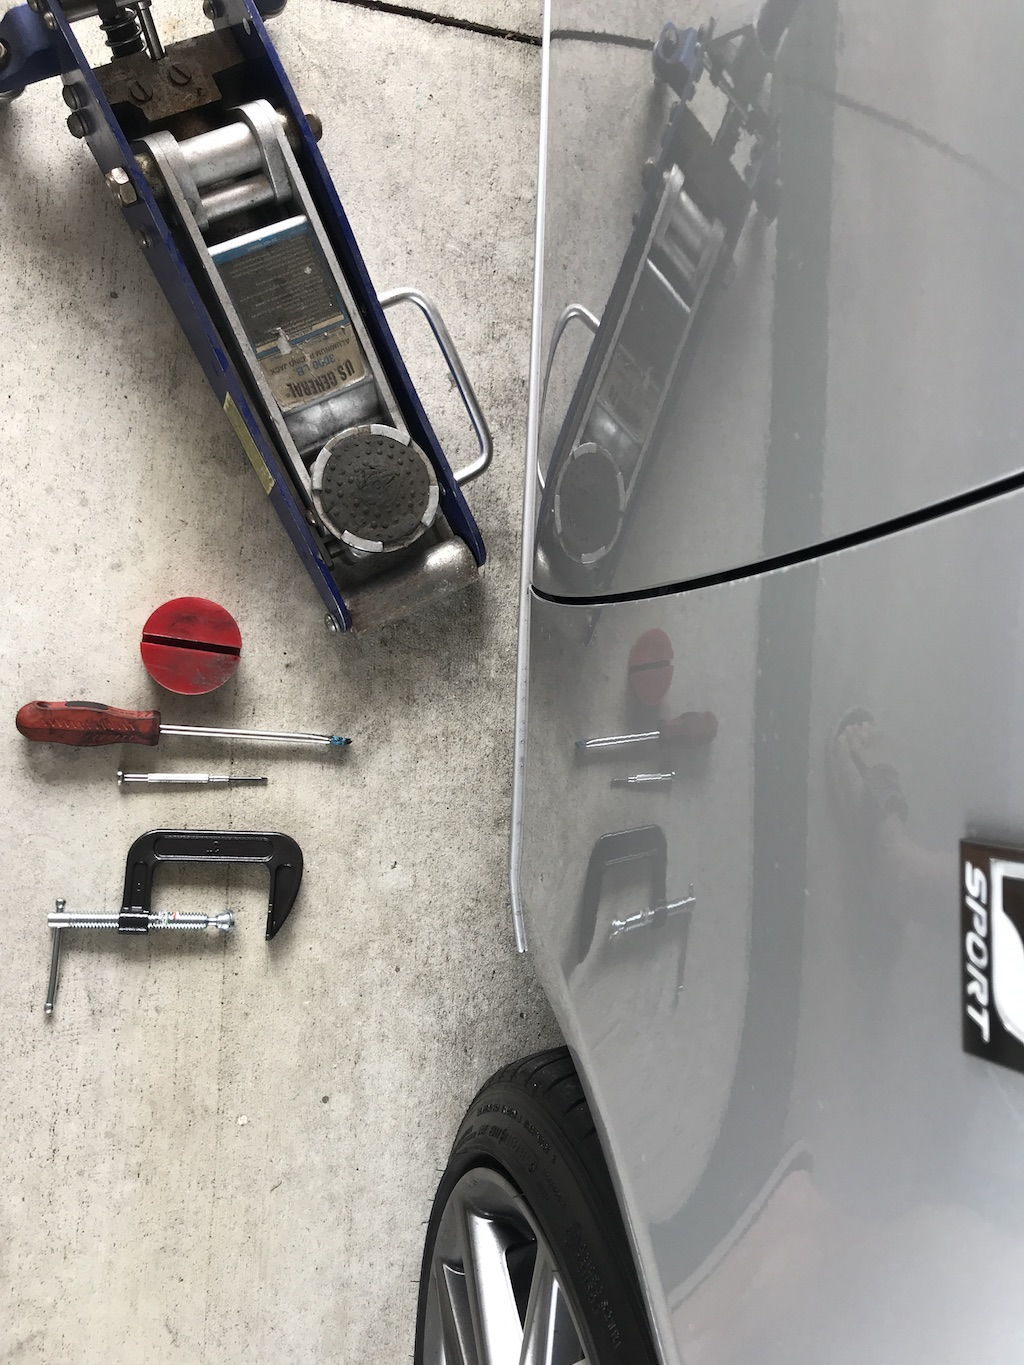
Tools you'll need (Including links where to get them)
Professional Genuine Lexus Pads (High-Friction) Or you can Get Alternative LOW DUST Professional Genuine Lexus Pads (LOW FRICTION "BLUE BACKS" As E46CT calls them) These will create lower dust, but not as good braking. Up to you! I went with high performance F-Sport style!
Some people also like https://www.amazon.com/Akebono-ACT1118-ProACT-Ultra-Premium-Ceramic/dp/B001DCH2FK/ref=as_li_ss_tl?s=automotive&ie=UTF8&qid=1500237425&sr=1-1&keywords=IS350+akebono&linkCode=sl1
Low-profile aluminum racing jack (you can use whatever jack you want, this is what worked for me)
Toyota/Lexus jack pad/puck (this prevents you from bending the pinch-weld jack points on the unibody)
Jeweler's small screwdriver
C-Clamp
Screwdriver (pictured) optional -- I ended up not using it. This job is too easy!
Torque wrench 1/2" drive
After Install Tips:
Remember to use this as educational reference only. If you choose to perform your own work, remember to work with a friend, wear safety glasses, work on a level solid surface, apply the parking brake and never go under a car supported only by a jack alone. Use quality sturdy jackstands if you need. In this case, I did not personally choose to use jackstands as I never at any point placed myself under the car.
After you install your new brakes, remember to firmly press the brake pedal a few times before taking off. Failing to do so may result in loss of brakes. Just a few pumps after start up does the trick to firmly seat the calipers, pads, and rotors.
I took the car on a test drive in an open area without cars and firmly stopped the car from 55 mph to 5mph 3-4 times in a row. This seats the new pads on the rotors. This may or may not be necessary but I did it anyway. The car performs as good as new. No noises whatsoever.
I chose to not use any lube or cleaning supplies. It's recommended to, but personally I did not use any. I feel the brakes will be dirty no matter what and the car stopped and sounded just fine at 11,100 miles and will be the same with 11,101 miles with new pads. And sure enough there's no difference. Car brakes flawlessly. No noise.
Though this job was EXTREMELY easy, I must say If you feel unsafe or unsure about working on your car, consult a professional mechanic or your local Lexus dealer. Be safe!
Fun Fact
Lexus uses Textar for their F-Sport high friction pad supplier. This is the company BMW has been using for decades for their brakes. No matter why this Lexus stops so good--it's using German BMW brakes!
Tools you'll need for the job. Yep that's it! I didn't even use that big screwdriver. Set the parking brake before lifting the front. This job is too easy. Also NO Need to turn the wheel or any of that non-sense.
The job is easy enough keeping the wheels straight. You don't want to turn the wheels when the car is lifted anyway, can be dangerous.
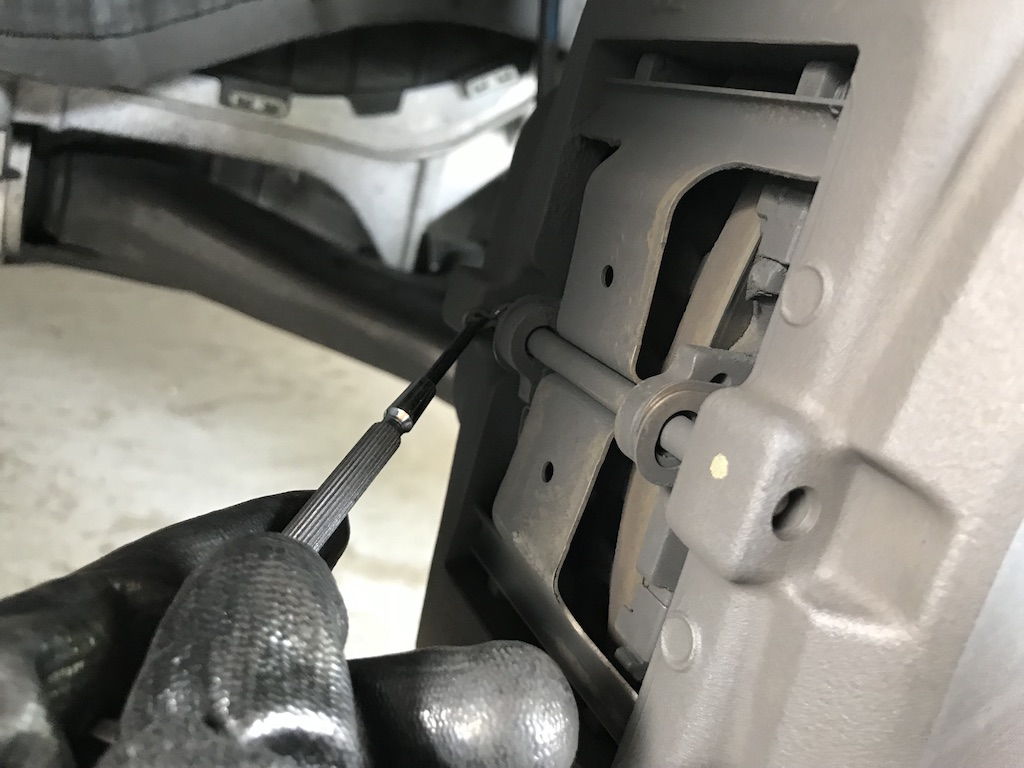
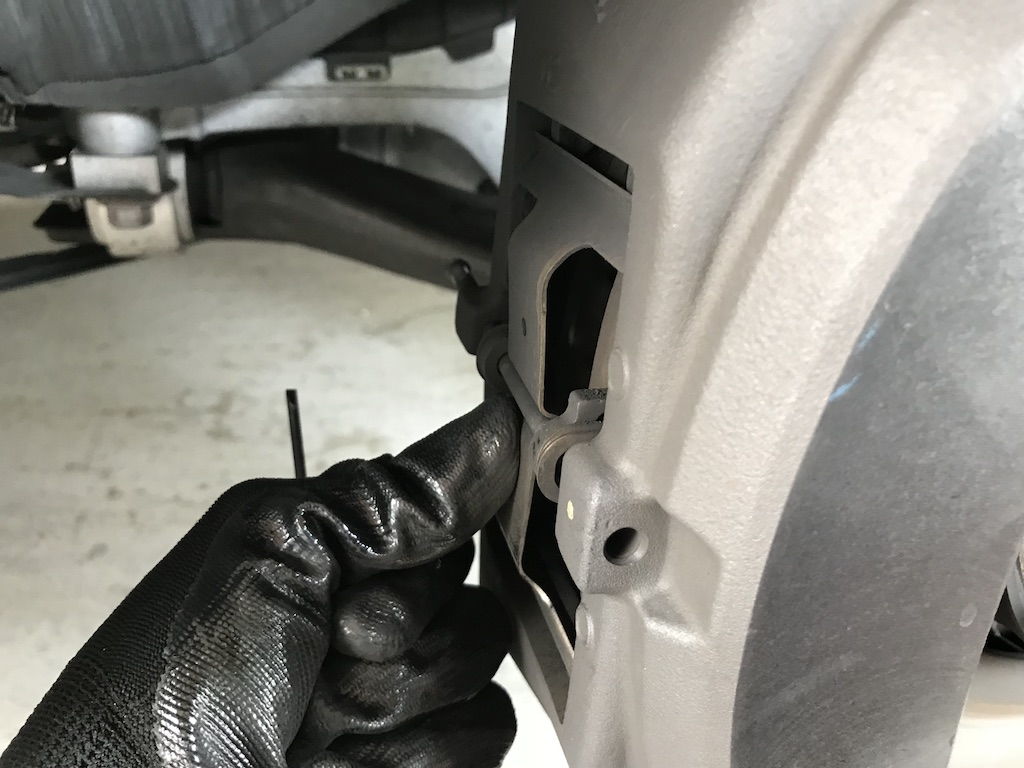
Use jeweler's screwdriver or other small tool to easily pull out pin. Comes out with minimal force. A baby can do it.

Use a small screwdriver to push the pin out. Again, minimal force by hand. No need to hammer, etc. Use the end of your screw driver to tap it out if you want. Remember to first remove the safety retaining pain.

After the retaining pin and retaining plate are out, go ahead and use your clamp and compress the old pad and the caliper together on the nubs shown in the photo. You are pushing the piston back in to make room for the new pads. Don't worry about getting it perfect, just enough to get the old worn pads out. Very easy.
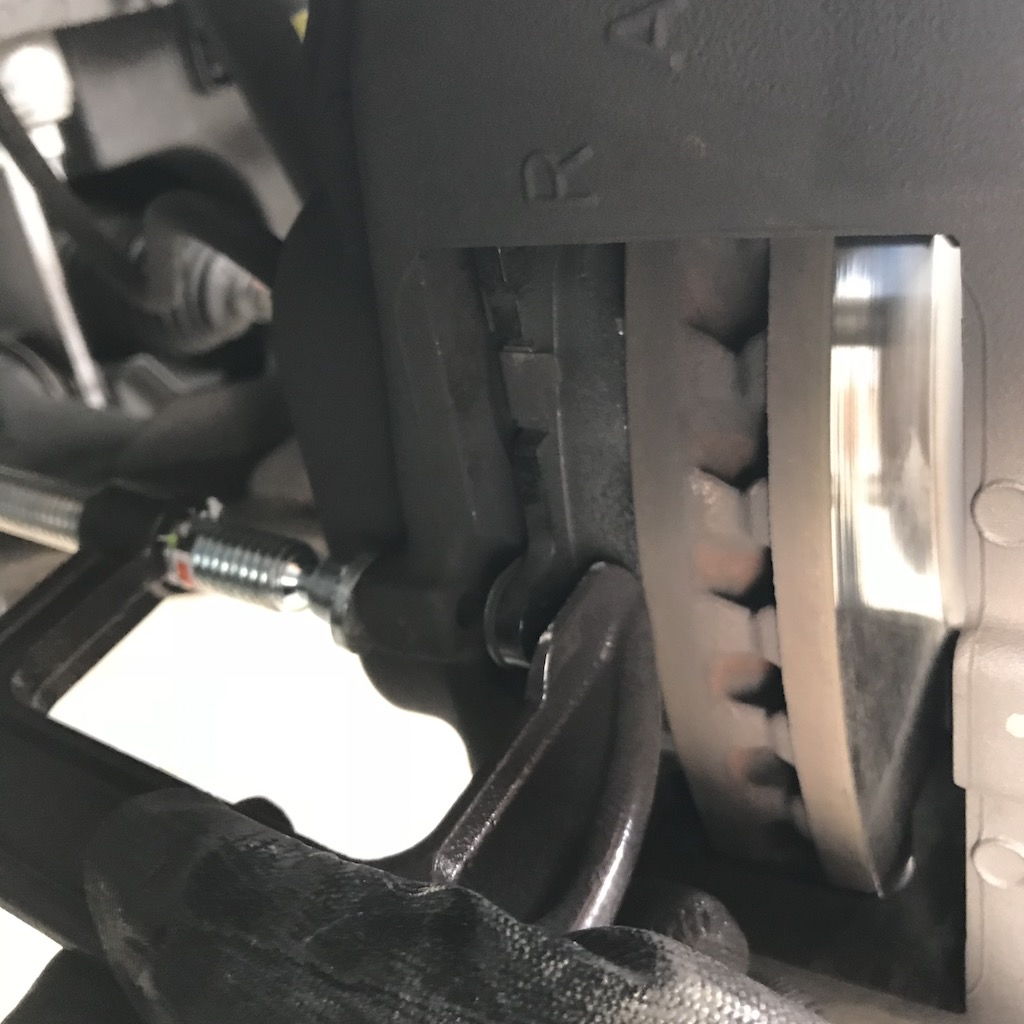
Do the same for the inner pad. Pull the old pads out by hand. Easy.

Removing the old pads
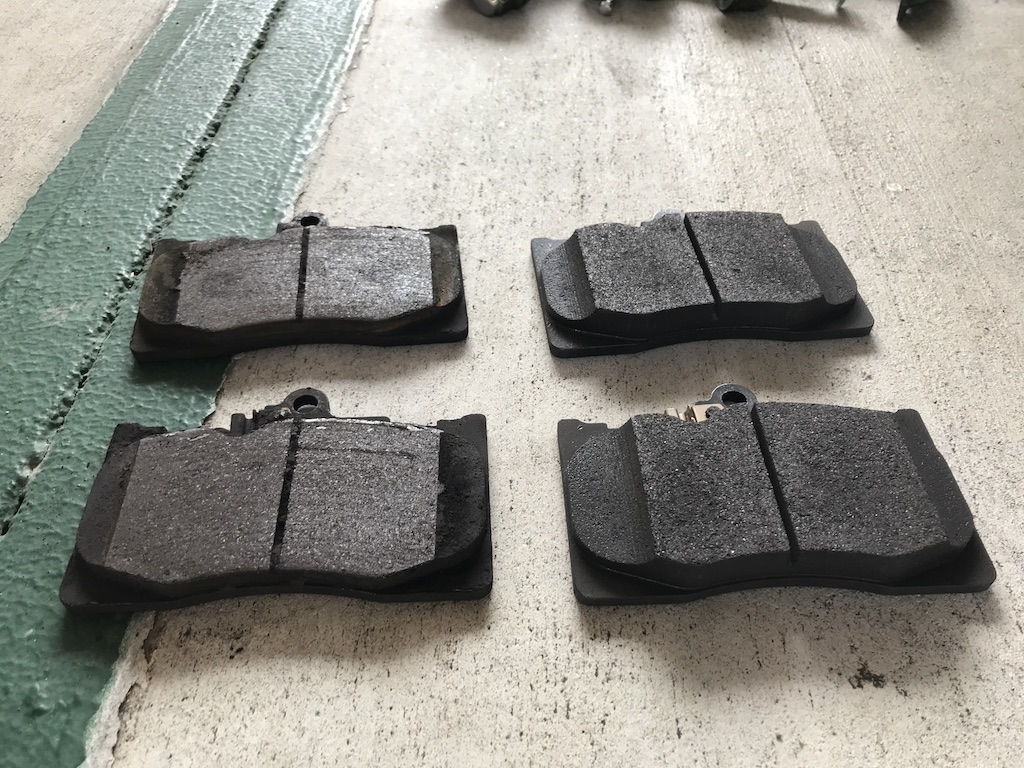
Old pads left at 11,100 miles. About 4mm left. The metal wear indicator had not yet hit the rotor. On the right are factory Lexus replacement high-friction pads. $55. The pads with the metal indicators were on the inside so I replaced them the same way. I don't know if it's a huge deal that they go on the same way, but I did in anyway. Maybe the inside pads wear faster.
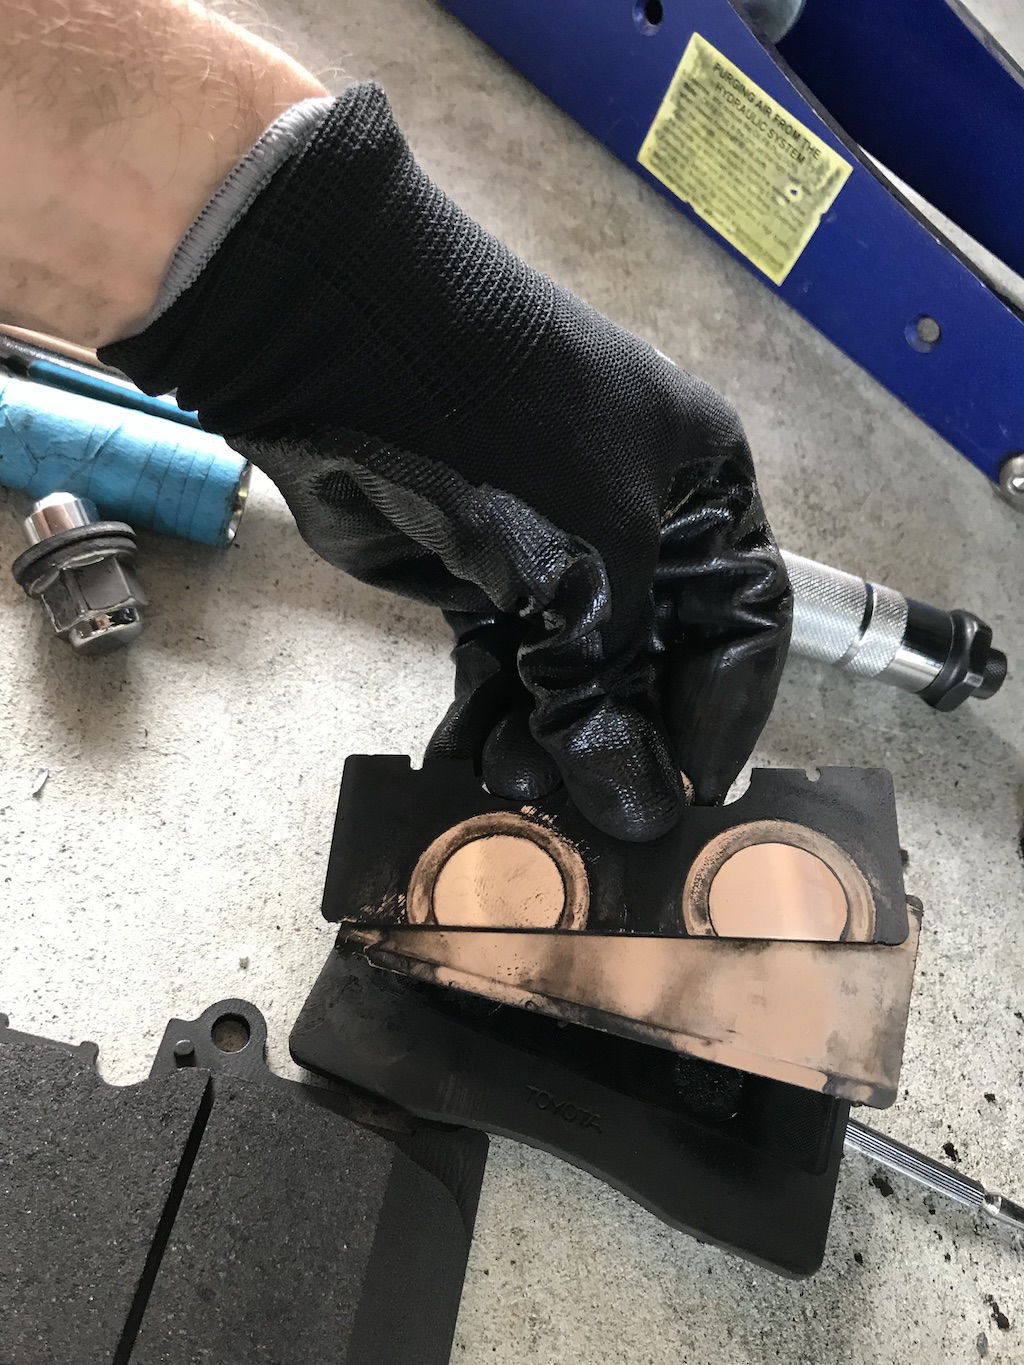
Once the pads are out, remember to remove the old shim plates (two per pad) and transfer them to the new pads.
The new pads slide in easy. If you are having trouble because there's not enough room, slide only the NEW inner pad in and use your clamp to compress the inner pad to give you a bit more room. Both new pads should drop right in with minimal fuss. Place the retaining clamp then use your hands to slide the retaining pin in. Minimal pressure is necessary. No need for hammers, etc. Lexus made this really easy to service. Don't forget to reinstall the little tiny safety pin. The straight end in.
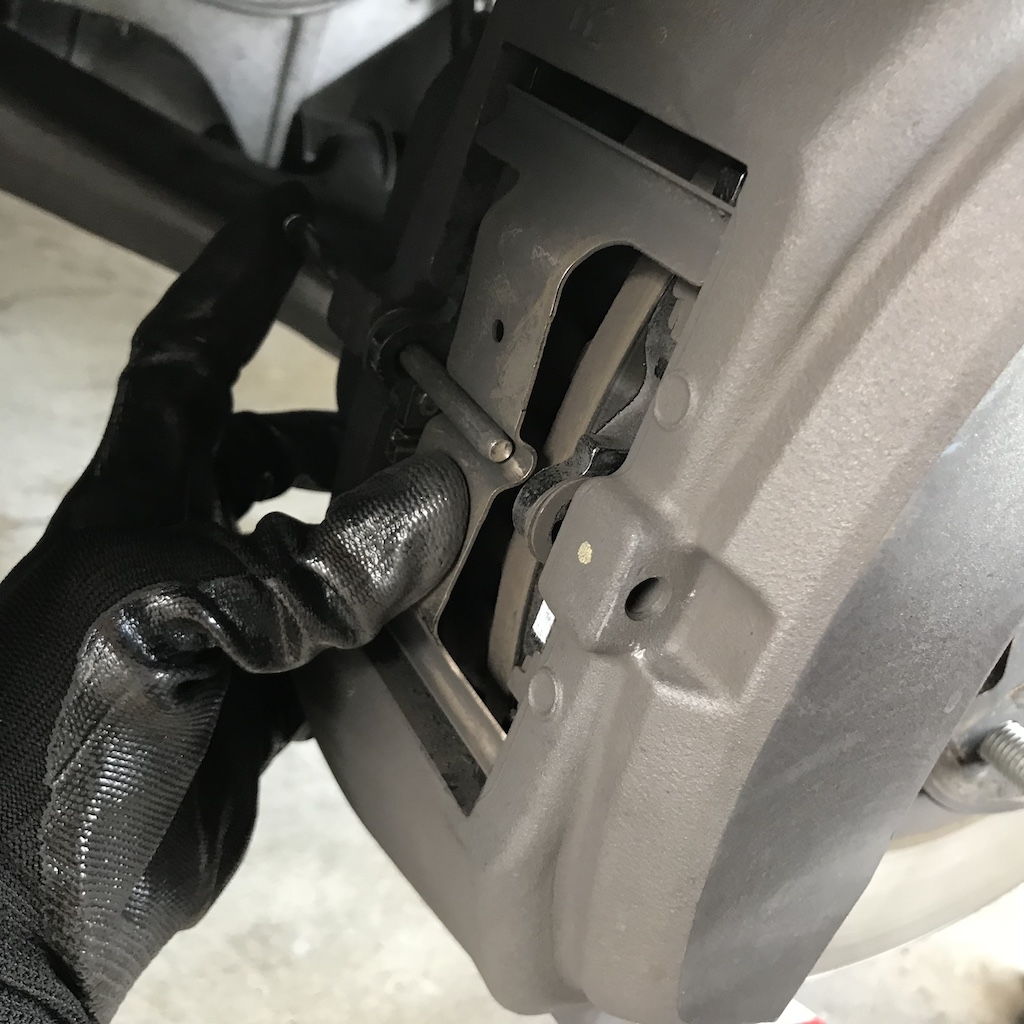
A pic showing my thumb holding in the retaining clamp as I push the pin in by hand. One-handed operation! Easy! Don't for get the safety retaining pin on the large pin. It's very tiny--don't forget it!
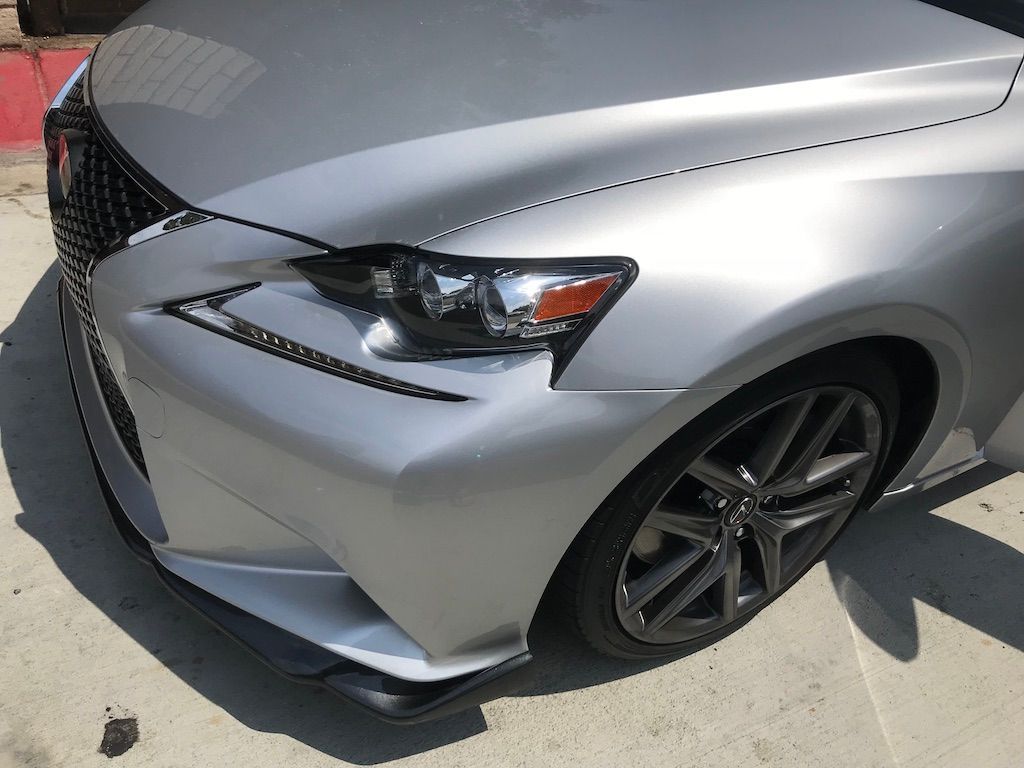
30 minutes later, including cleanup, all-buttoned up. Don't forget to torque your wheels down properly 80 ft-lbs +/-5. I used 81 ft-lbs in a star pattern.
No comments:
Post a Comment
Let Mango know what you think!