Wednesday, October 30, 2019

Lexus CT200h F Sport blue F Sport Springs Install (DIY/Part #s)

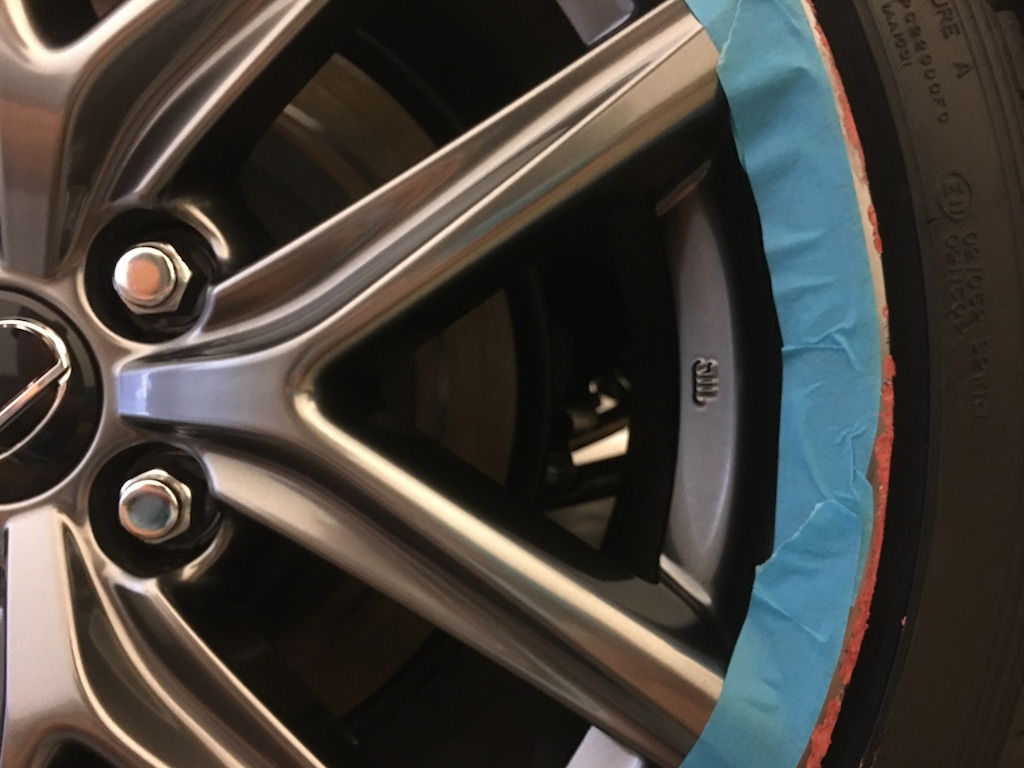
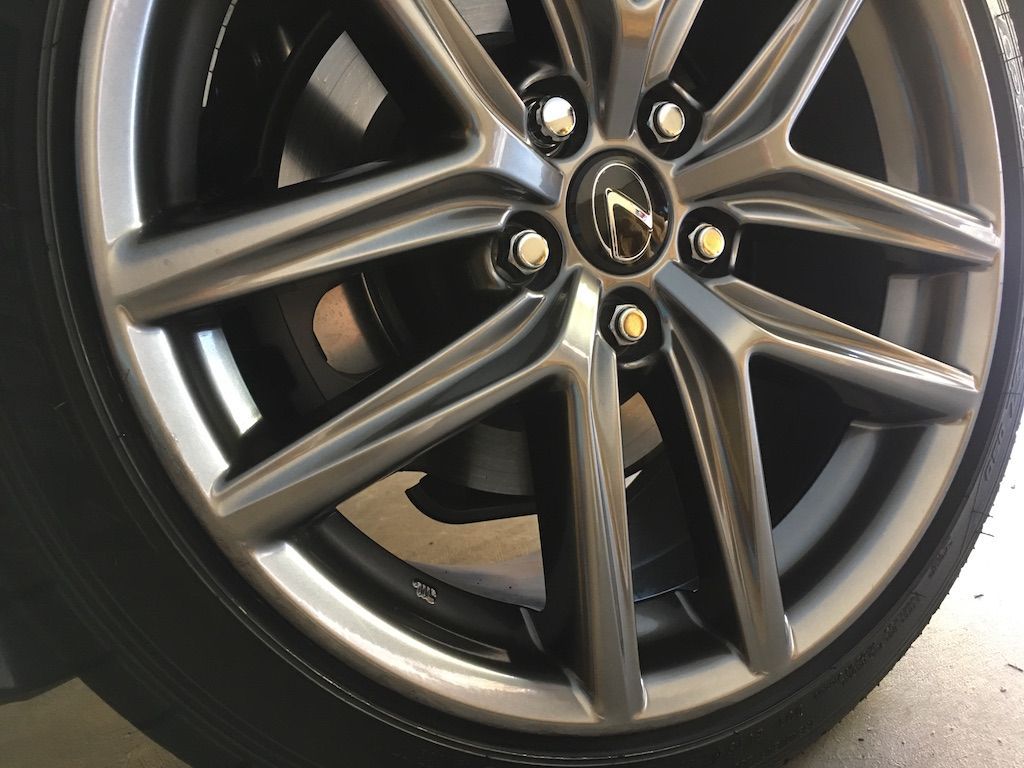
BLUE F SPORT SPRINGS

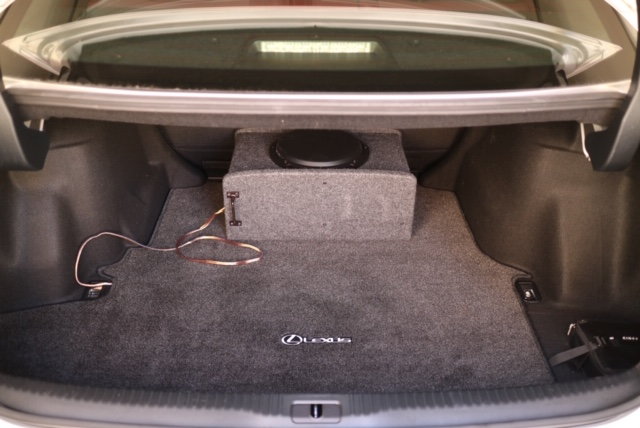
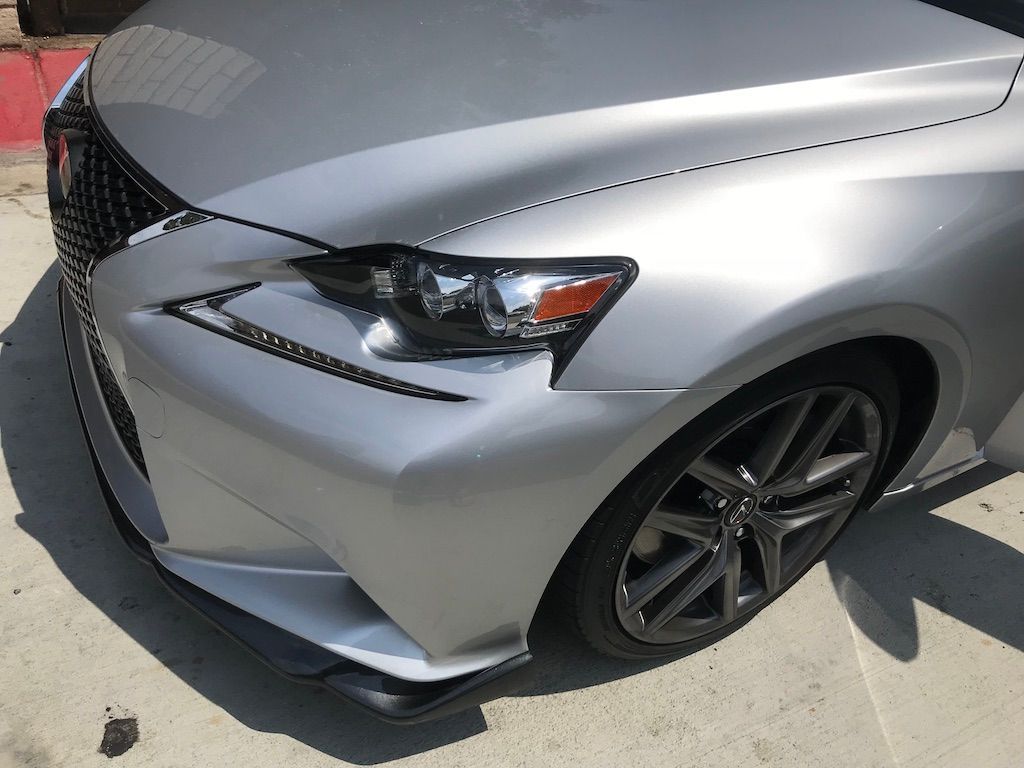
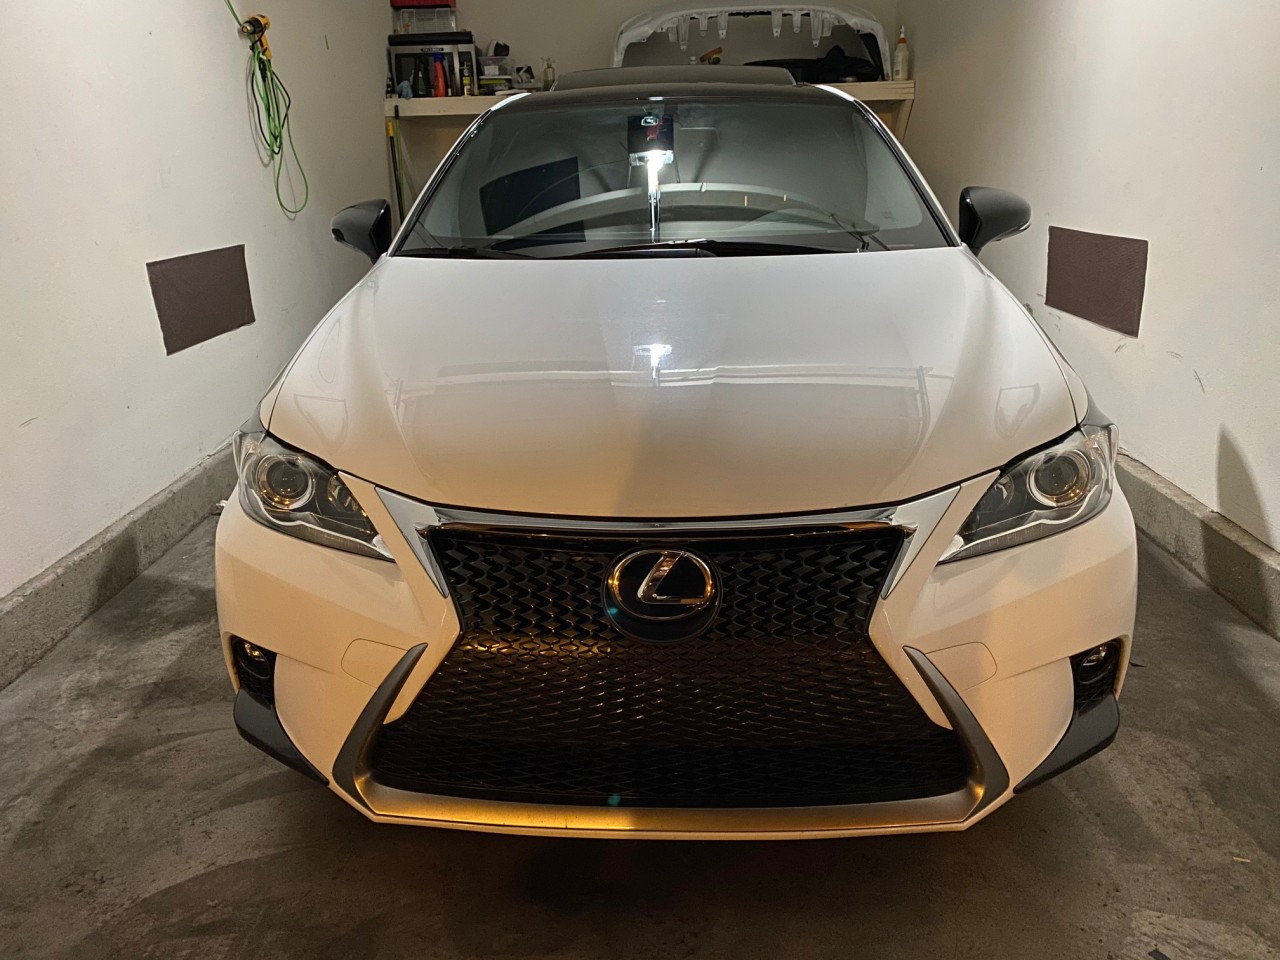
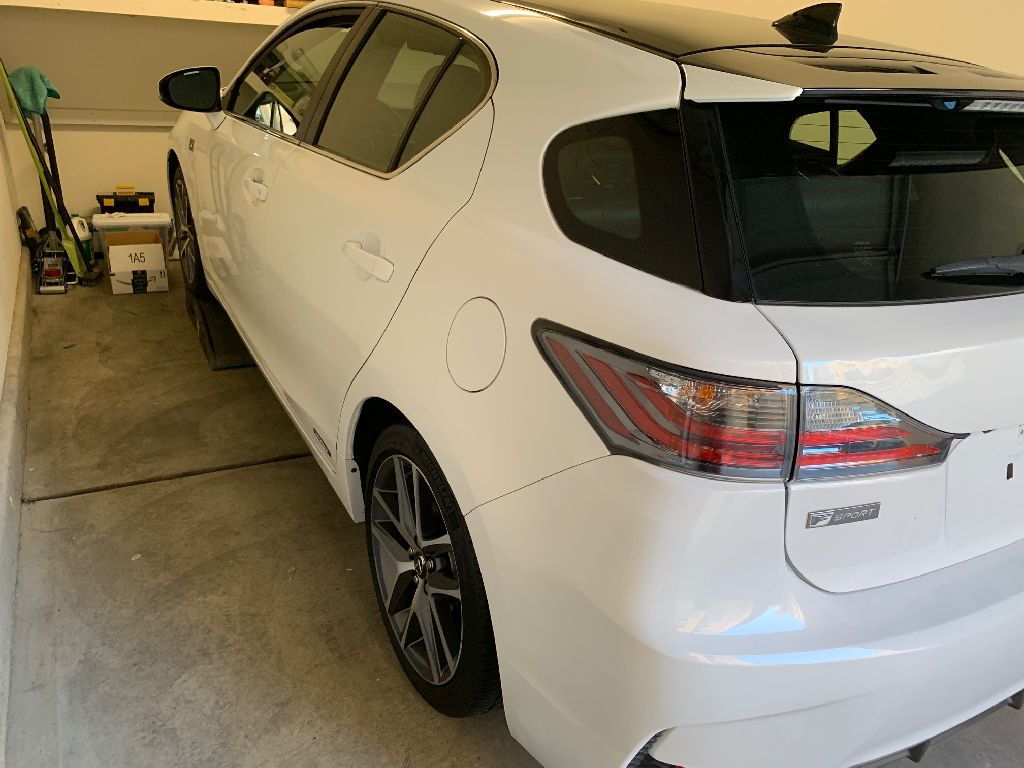
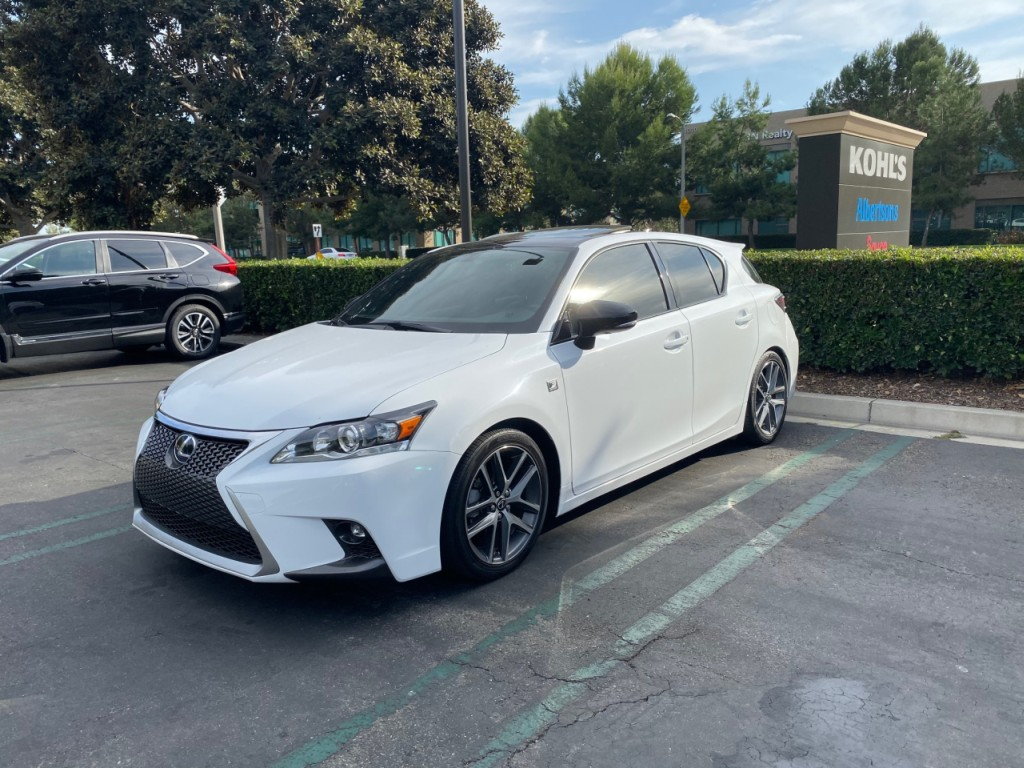
I wanted to create a guide to assist in the installation of the blue F Sport springs. They provide a 1" drop. Part #PTR07-77110. The ride is slightly firmer than stock, but still very comfortable for a daily driver. Below, installed on my 2015 F Sport. This is for the dealer *OPTIONAL* Lexus brand BLUE F Sport springs. They are an upgrade over the factory installed BLACK F Sport springs.


I purchased mine from eBay from user Bell Lexus North Scottsdale. These guys are always fast and great and go the extra mile to help you. Response time is lightning fast and thorough should you need anything. Not sponsored in any way by them nor was I asked to endorse them. They just did a great job and I thought they deserved a shout out. If you google the part #, they're actually a bit cheaper elsewhere from other dealers on the web. There's a sale going on right now.

There's tidbits of information out there, but nothing collective all in one place. So that's what I set out to do with the creation of this thread.

This is a guide only and if you are incapable or not confident, you should consult a professional to perform the work. But as many of us are enthusiasts, some may feel up to the task. If you have proper equipment and tools, exercise good safety measures, and work with a friend to help you, this job is not too difficult.

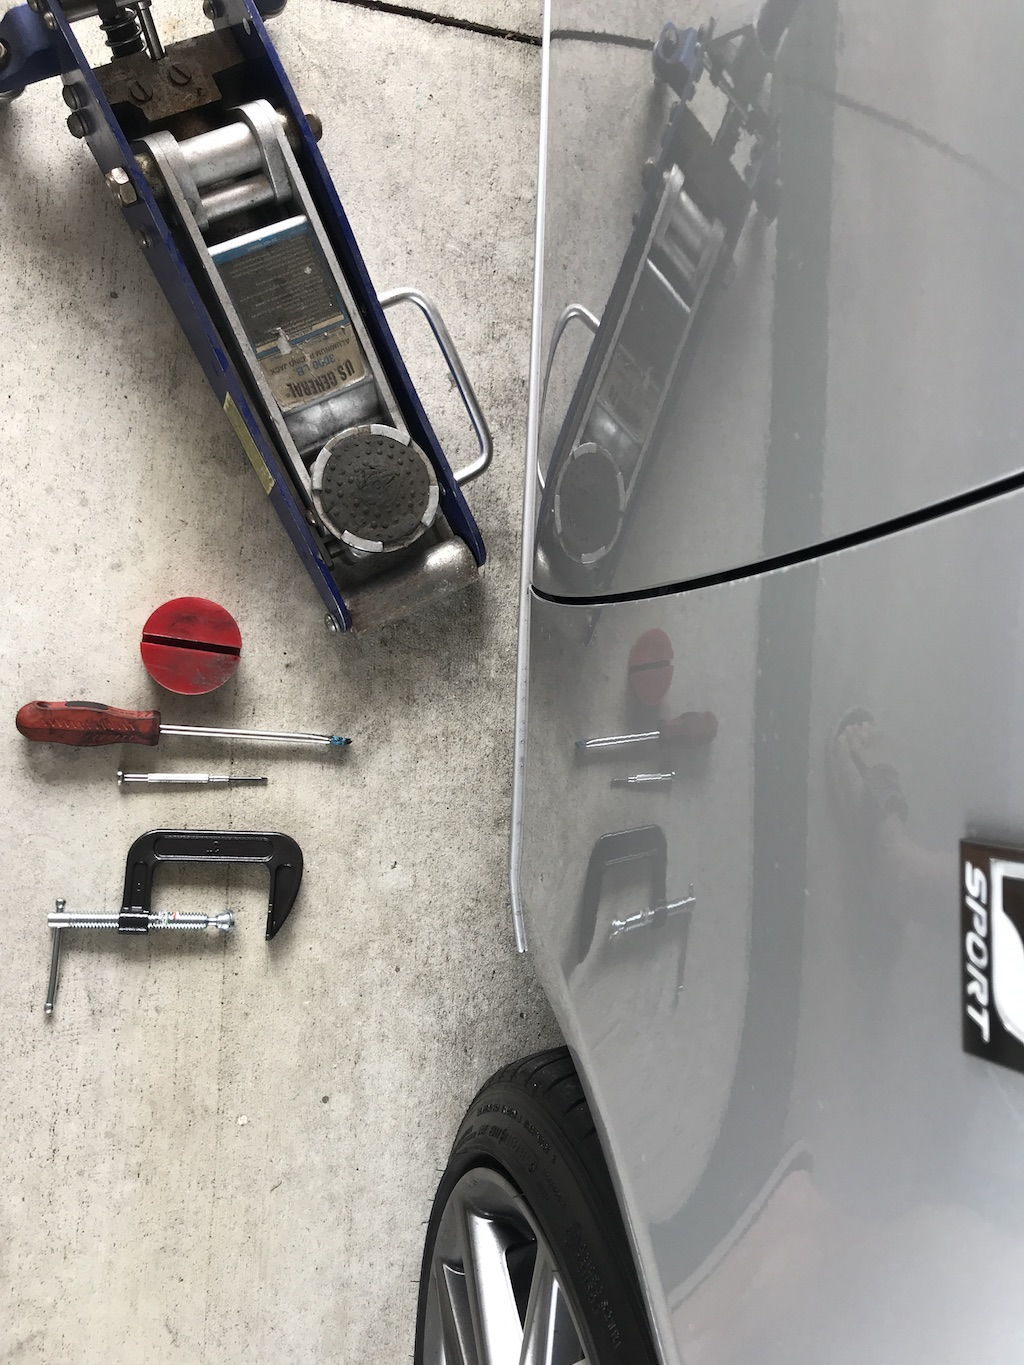
I did this in my garage with the following tools. They are not ALL necessary, but it helps to have all of these. I've provided links to some of the specialty tools that I actually own and have used in this project. The others are basic tools and you can find them at your local home depot or wherever you get your tools. Harbor Freight is decent for home projects too.

Safety glasses
Low profile jack (got mine from Harbor Freight)
Quality steel jackstands
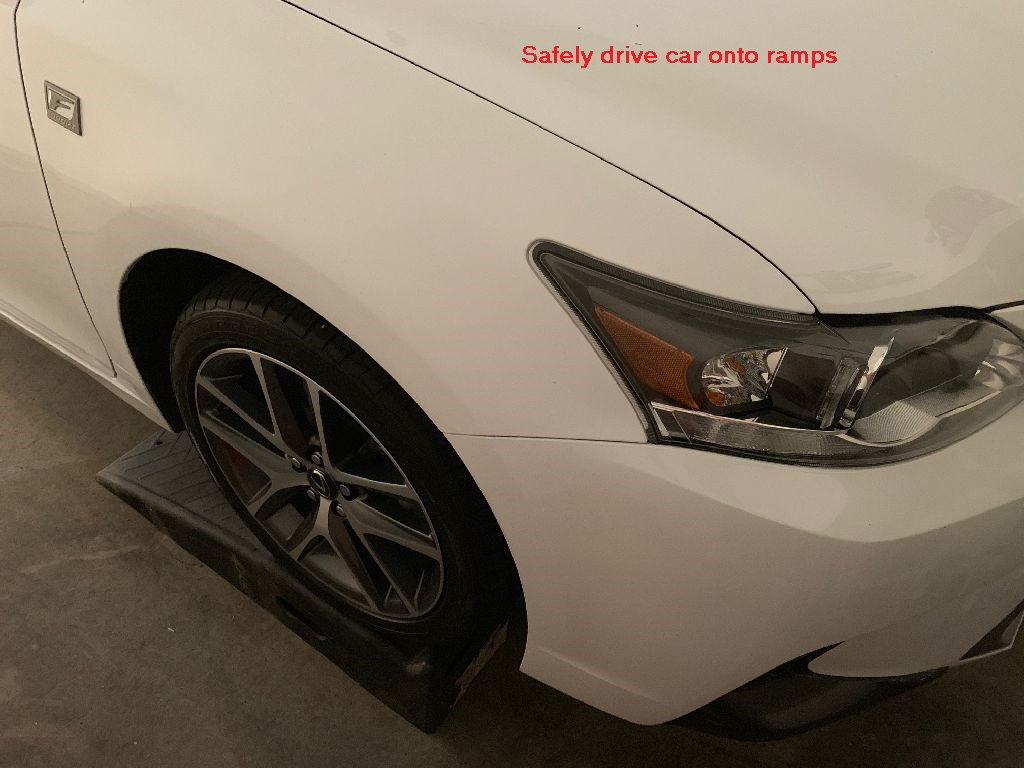
Ramps
Breaker bar (1/2")
Torque wrench (1/2") capable up to at least 177 ft. lbs
Ratchet 3/8"
Ratchet 1/4"
Ratcheting wrench 14mm
Sockets metric 10-22mm (off top of my head, you'll need 13, 14, 17, 18, 19, 22) but you could need the other sizes, I forget. Just have a decent set. The bigger ones, I recommend 1/2" drive, but you can use a step down adapter if needed)

Front Struts

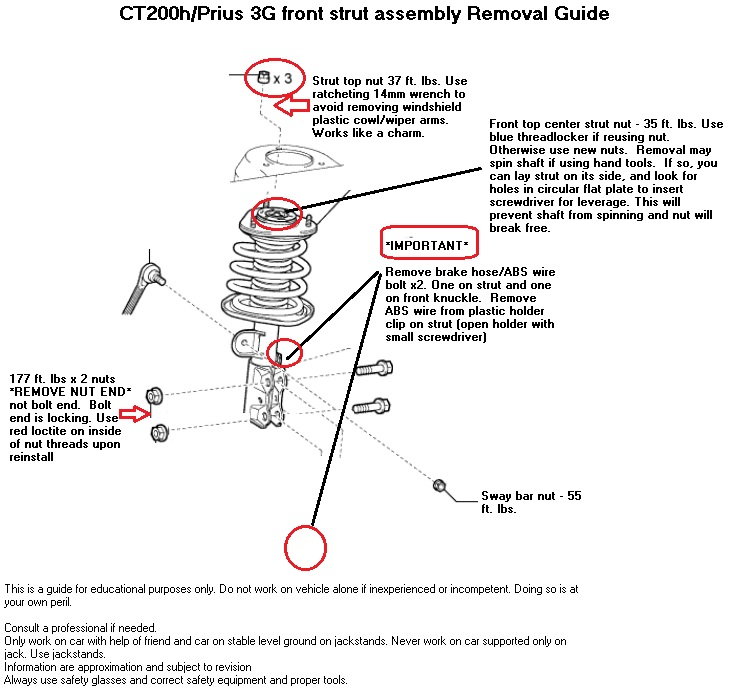
I created this hand drawn diagram to aid in front strut installation and removal, as well as the rear shock removal and install. All the important parts required for removal of the strut assembly are outlined in red with important notes. So I'll just give some general advice.

You cannot work with one corner of the car lifted up only cause the sway bar. If working on the front, the WHOLE front needs to be lifted off the ground. Same goes for the rear. So get your jackstands ready.

You do NOT need to remove the front plastic cowl and windshield wipers for removal of the strut. At least not in the CT. The Prius you may. On the CT, the strut nuts (3 per tower) are removed using a ratcheting 14mm wrench like this one. This alone will save you a good chunk of time. Other guides have you remove the cowl.

I found my swaybar nut to easily remove and I did not need to hold the shaft in place w/ a socket. It also easily tightened. Your experience may be different, so have a hex head socket and ratchet ready in case it spins in place.

Removing the center strut nut... you should use an impact to easily remove this. I did not have one so I used hand tools - 19mm socket and breaker bar. I found of course my shock shaft to spin. Close inspection of the circular flat plate at the top spring coil reveals holes. Pull the rubber back and you'll notice them. You can stick a screwdriver inside and use it for leverage. Nut removed easily at that point. Obviously before you remove this, make sure your spring is compressed so there's no pressure when the nut is removed. Failing to do so can result in serious injury. When removing the strut mount/top nut, always make sure you point the strut *AWAY* from you at the wall or something similar. I always find it good practice to cover the area with a heavy blanket, box, or other object as to protect yourself. If you compress the spring enough it shouldn't be a problem.

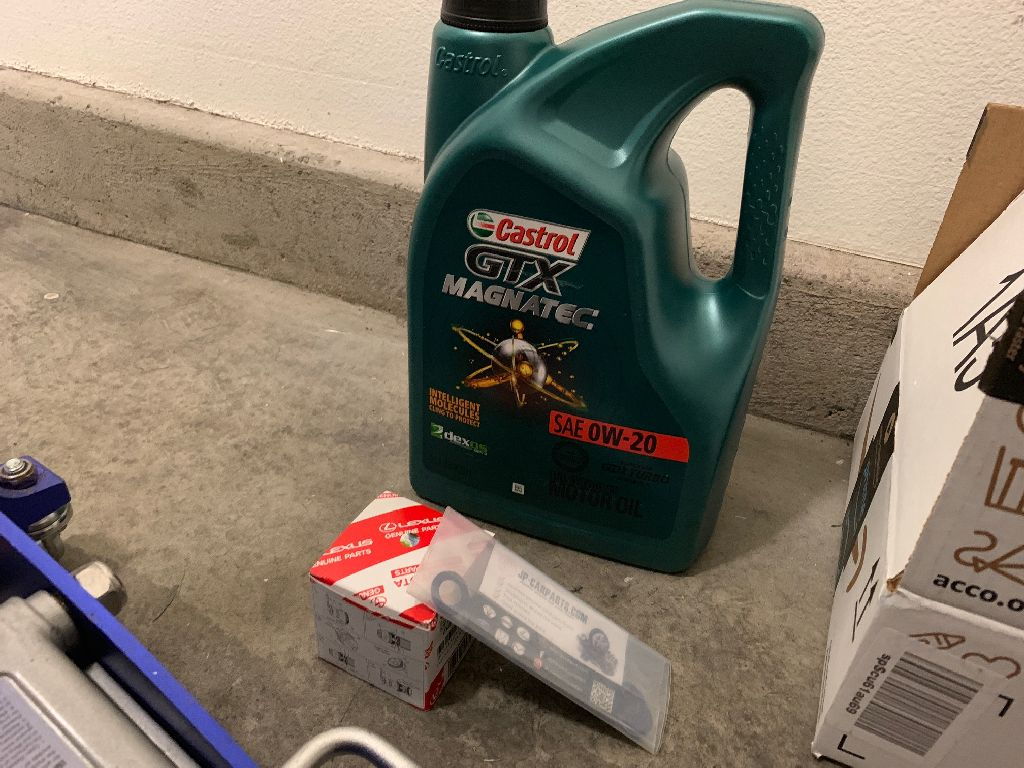
Personally, using these exact high quality spring compress sticks, I found I did NOT need to compress the spring a whole lot to relieve tension. My experience was that when the top coil spring was at least partially lifted away from the rubber (you'll see dark/clean rubber) then at least enough tension was off. The top nut came off easily and the top mount did not pop off with any pressure. Always coat the spring compressor threads in motor oil as well as the top washers. you want any metal metal area under load to be coated in oil so it turns easy and does not create too much friction and heat.


Rear shocks

The rear shocks are pretty easy. Follow my notes on the diagram below.

Important notes:

It's important the inner control arm fastener is loosened, and not removed. The arm needs to pivot. You can severely wear or tear the bushing if you leave this fastener tight as you pivot the arm down to remove the spring. You must also re-tighten the bolt as the VERY VERY last step. The car must be up on ramps on its own wheels at its natural resting position. Otherwise you can and will wear or tear the bushing if you lock the bushing then put load on it. I drove the car back and forth a few feet a few times and bounced the car so it can be as close to naturally resting as possible ONCE up on ramps. Let the car settle.

The rear sway bar only needs to be detached from the control arm at the very bottom of the control arm. Do not touch anything else on that sway bar including the nut above it. The nut sandwiches the rubber bushing above it. Make sure you reinstall that the same way it came out. Easy.

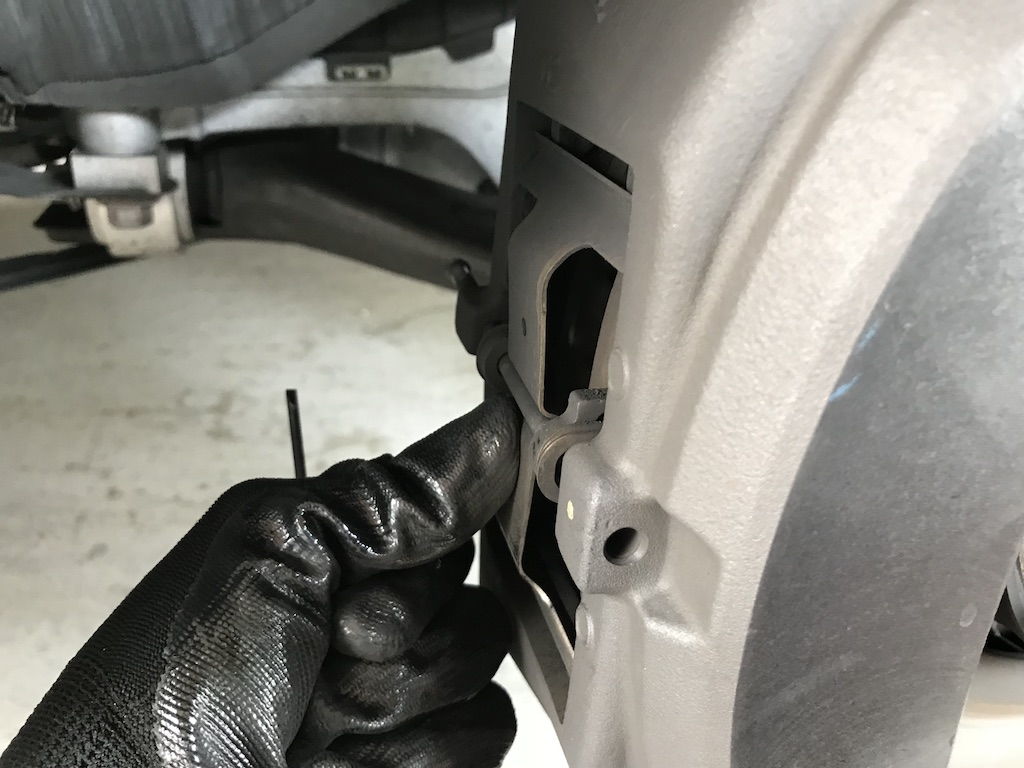
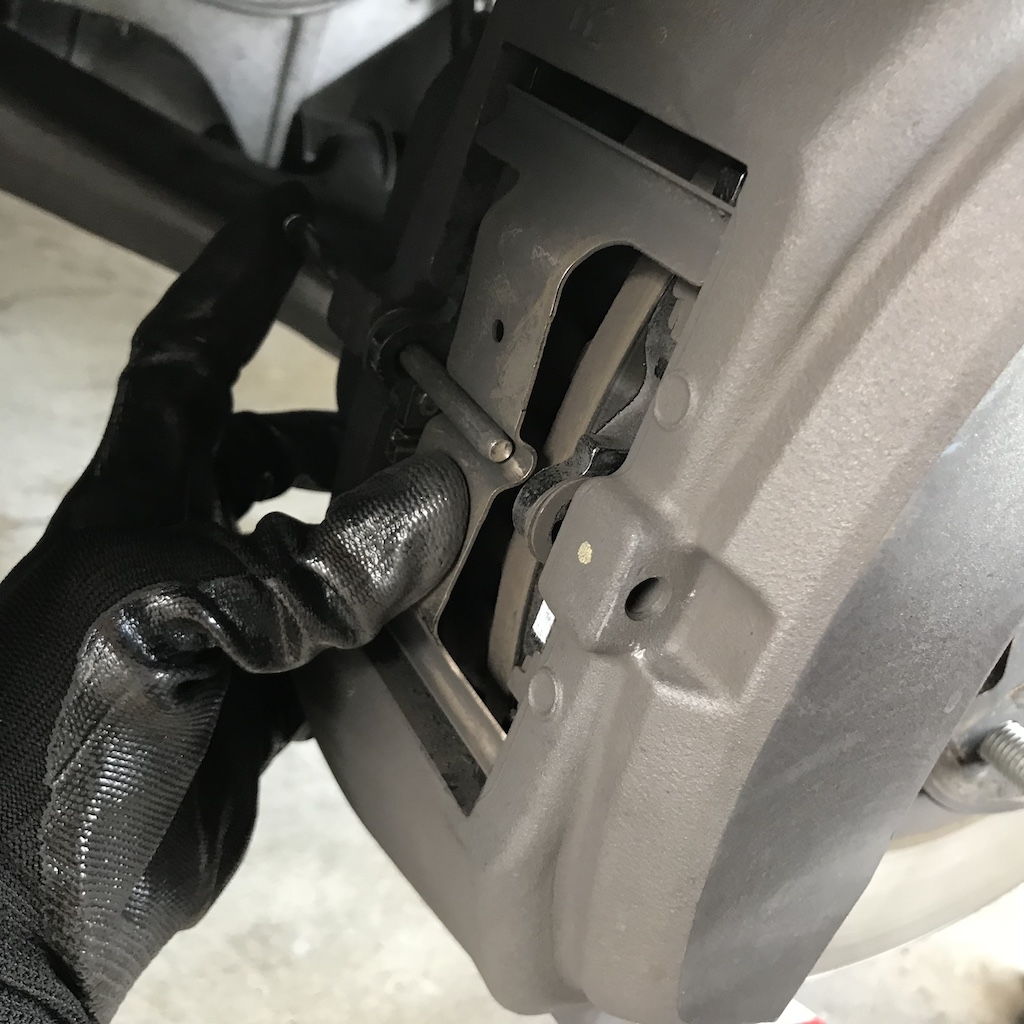
Be careful not to load up the shock (stretch). So remove the shock bolt first. You will need to place a jack under the control arm and lift it (slightly) to take load off the shock so the bolt slides out easy. Same for the control arm.

When reinstalling the bolts, again you'll need to use a jack to get the bolts to line up. You can use a screwdriver to stick inside the hole and maneuver/wrangle the suspension so the hole accepts the bolts. I found it to be easy on this car. Other cars like the Lexus 3IS... not so much..

It is advised to get an alignment after you do install springs or front dampers.

Everything you need to remove for rear spring replacement is circled in red below.

Consult a repair manual for accuracy before proceeding on your own car. This is just a guide for information purposes and to assist and educate others. Information contained herein is not guaranteed in any way nor is it promised to be accurate and is subject to correction or revision.

So you wanna install subwoofers in your Lexus IS CT RC GS huh? Easy DIY

SUBWOOFERS BRO.

Ok, well one subwoofer. Add a little boom boom to your vroom vroom.

Someone requested some info on this. Installed a JL 12" subwoofer and Rockford Fosgate Amp to my 2016 IS200t non-ML system.

It sounds GREAT and I haven't even tuned it yet. The system before was meh and really this new system sounds absolutely great. I'm not really wanting to upgrade anything else now. For some reason just adding a subwoofer has enriched the sound quality. I thought the trunk being sealed would not let any bass in but boy was I wrong. HUGE noticeable difference.

Here's how I did it:

I literally bought everything from Amazon.

Amp I used: https://www.amazon.com/Rockford-Fosgate-R500X1D-1-Channel-Amplifier/dp/B00BF6HYDE/
Subwoofer I used: http://amzn.to/2cyXoZL -- Looks like it was replaced with a newer model: https://www.amazon.com/JL-Audio-CS110TG-TW3/dp/B00IF9IJ4W
12V wiring kit I used: https://www.amazon.com/BOSS-Audio-Amplifier-Installation-Wiring/dp/B000FKP7TY/ref=sr_1_1?keywords=BOSS+Audio+Systems+KIT2+8+Gauge+Amplifier+Installation+Wiring+Kit+-+A+Car+Amplifier+Wiring+Kit+Helps+You+Make+Connections+and+Brings+Power+to+Your+Radio%2C+Subwoofers+and+Speakers&qid=1572460560&sr=8-1
T-Taps: http://amzn.to/2bOCu6t

You'll also need:

Some quality needle nose pliers for squeezing the crimps. Everyone should have these.
Wire strippers/cutters (or you can use a nail clipper)
1/4" drive ratchet with deep socket 10mm
Electrical tape (optional)
Zip ties (optional, recommended)
Allen key or allen key screwdriver for the fuse holder. I think the correct size tool MAY come with the amp. Not sure I forget.
Flashlight

Time: 2-3 hours.

1) Disconnect negative terminal on battery. You'll be messing around with a (probably) very expensive amp. So don't risk it.

2) Pop trunk. Pull out trunk mat, spare tire lid, right side tool kit foam, and right-rear latch which is secured by a 10mm nut. Lift the panel on the right side up and out. Below it is the factory amp.

3) Remove factory amp and set aside. It is held down by two 10mm nuts. One facing the sky and one under the interior trim facing the front of the car. You'll need a deep socket 10mm. Tilt the amp towards you and look at the large front harness. It has a special black clip you have to unlock and pry upwards then the harness slides out. Use a flashlight and be careful not to break anything. The smaller harness just pulls right out with a push tab like normal. You'll be working with both harnesses. The large harness for the rear speaker signals (4 wires total - green/brown for positives and pink/white for their respective negatives. The negatives are directly below their respective positives. Can't miss them.

4) Take your line level input harness from your amp (assuming you bought the one in my link) and use the T-Taps to tap into the rear speaker signal wires on the large harness. These are unfiltered pre-amp signals for the rear speakers. Exactly what you want. Tip: Tap the wires when you have the black plastic part on the large harness fully locked in the up position. This ensures you have enough room to re-insert the harness into the amp because that black piece has to be fully up to go back in. Thanks to RamAir, here are the wires you need to tap on the amp: L+ Beige; L- Pink; R+ Green; R- White.

5) Now it's time to run your power and ground and remote wire. (you can do this step before #4 if you wish) doesn't matter. You'll need to run your 8 gauge power wire from the positive terminal on the battery. The wire in the kit I linked comes with everything you need, including fuse and terminals. Go inside your car and pull down the passenger footwell panel with your fingers. There's no screws. Pull it down. Don't be scared. Now look under with a flash light. There's a large rubber grommet that is on the firewall. You can see a little hole for something to go in. That's where you'll put your wire. Use a tool, wire, whatever to poke a hole in that unused rubber hole. Push your 8 gauge power wire through and pull up enough slack on the other side that you can attach to the battery. Just let it sit there. DO NOT CONNECT TO BATTERY UNTIL THE VERY LAST STEP. You don't want to short anything out. Now run the power wire down the passenger side of the car. I recommend pulling up the passenger front and rear side sill plastic scuff panels. Pull outwards towards drivers side gently using your fingers then upwards. These panels come out very easy. You should not have to fight them. Then tuck the 8 gauge power wire neatly inside and you can simply tuck in under B-pillar panel using fingers. Pull taught from the rear to make sure the wire is securely under the B-pillar panel. Then pull up back cushion of seat to get more access. Then fold down passenger side seat back. Now you can route your wire to the trunk. Avoid any sharp metal. Route the wire carefully and secure with zip ties where necessary. Run wire to roughly where your subwoofer will be and cut to size. Now put your interior back together using your fingers. Easy.

6) For ground wire, I simply used the front right metal latch in the trunk. I had to remove the little lid that comes down. Sliced it off with a razor blade. Oh well. That latch grounds securely into the chassis--I confirmed. As for your remote turn-on wire, on my 2016, it was the small brown wire in the corner of the SMALL harness. Confirm with multimeter. You want 12V when car is ON and nothing when off. Connect your amp to speaker cables, your power, ground, remote and button trunk back together. Now the last part, connect the fuse and ring terminal to positive side and reconnect your ground wire. Mine worked on the first try! Double-triple check everything you do ESPECIALLY the connections. Always work safely and if you do not feel comfortable or experienced enough, consult a professional shop to assist you!

Edit: I relocated the amp to the left side and used a ground right below the driver's tail light on the inside of the trunk. There's a 10mm bolt you remove. Perfect!

Enjoy your sweet sounding non-ML system now!! =)

These are the two harnesses you'll use that plug into the factory amp. Large harness for speaker taps (info above) and small harness for the remote turn on wire. For 2014/2015 cars, it may be blue or white I've read. Confirm with multimeter. On my 2016, it was the light brown wire in the corner.


Added pics:


This is the base control knob mounted on the left side of the car. This literally took me 10 min from start to finish. Extremely easy route the wire. Just tuck with your fingers. Just zapped the screws right in the plastic panel. Nothing above it. Make sure you use tiny screws. The kit comes w/ them. Nevermind the zip tie hanging down. I trimmed everything up nicely after I took the pic. Used two zip ties to secure the bass control wire to some factory wiring harnesses up there. Make sure you go behind the brake pedal so you don't interfere with its operation.

I'll post pics of the relocated amp to the left side along w/ updates on install. Wires ran a bit differently, etc. Cleaner--no exposed wires. Remove box in one easy step. Still the same concept overall though.

Curbed your wheels? Fix your Lexus wheel curb rash for $15 - DIY! Super easy

WHEEL RASH DIY EASY FIX DIY @ HOME!!!

This DIY has the potential to save you thousands at least return time. It did for me. I curbed all four of my wheels on my Lexus and when I returned it at lease end, the charge was $0. All for $15 and a few minutes per wheel.

I curbed my IS200t's F-Sport wheels.

The rash was relatively minor so decided to fix myself. The parts are less than $15

Here's what I purchased:

Sandpaper kit: http://amzn.to/2cvIXWK
Perfect match F-Sport wheel paint with applicator and clear coat: http://amzn.to/2cQmJ1l
Glazing putty: http://amzn.to/2cG5Q4j


Here is what I did to the wheel :(


Start by using painters tape and expose only the area you are working with so you don't accidentally scratch or sand the good paint. Then using a q-tip or similar tool, apply the glazing putty over the affected area. try to be as smooth and even with the wheel as possible so you don't have to sand excessively. Let sit 15-30 minutes


Then take your sandpaper (i used 200 grit) and fold it into a small square. And slowly sand down smooth the hardened putty. Don't be afraid of scratching/scuffing the surrounding paint between the curb rash. do the whole area. After you are done, you can apply more putty and repeat the process. I decided I didn't need the wheel to look absolutely perfect. Just good enough. Then shake up your phantom gray pearl paint and apply it over the putty smoothly. Let dry then apply clear!


This is the paint I used.


And the finished product. I could've spent more time on it and sanded it down more and smoothed the paint out before applying clear. But I don't have time for it and it's good enough for me. It looks WAY better than before. And from normal viewing distance you can't tell. You have to go up close. I actually had to look very closely and squint to find the damage so i could take a picture. The touch up paint is a perfect match. Keep a spare in your glove box to touch up nicks and curb rash. You don't even need to putty the curb rash if you want, just paint over it so it's not noticeable!

Enjoy!

Lexus 3IS Brake Pad DIY (2014-2020) Lexus IS RC front brake pad DIY

BRAKE PADS

Background

I realize there's other DIYs out there, but here's my personal experience and own take on this job. This job isn't involved as some of the other DIYs make it out to be. I found I didn't need as many tools or steps as others have listed. But I still thank them for the inspiration. I have a solid background in BMW and this job was much easier than those cars (even though they're not that hard as well) My 2016 IS200t has 11,100 miles on them and the pads are at 4mm. I drive my car moderately, not too easy and not too hard. 50/50 city and highway. These high friction pads wear out blazingly fast. I did not turn the rotors, I left them as is. I figure if others can get 60k out of their F-Sports with low-friction pads, then the rotors should last a bit longer. I don't think the rotors know any different what pads they have. Even though, if I suspect any excessive rotor wear or abnormal noises, I'll replace the rotors. I just thought 11,000 miles was unnecessary. Very minimal lip on them. They still look decent.

Tools you'll need (Including links where to get them)

Professional Genuine Lexus Pads (High-Friction) Or you can Get Alternative LOW DUST Professional Genuine Lexus Pads (LOW FRICTION "BLUE BACKS" As E46CT calls them) These will create lower dust, but not as good braking. Up to you! I went with high performance F-Sport style!
Some people also like https://www.amazon.com/Akebono-ACT1118-ProACT-Ultra-Premium-Ceramic/dp/B001DCH2FK/ref=as_li_ss_tl?s=automotive&ie=UTF8&qid=1500237425&sr=1-1&keywords=IS350+akebono&linkCode=sl1

Low-profile aluminum racing jack (you can use whatever jack you want, this is what worked for me)
Toyota/Lexus jack pad/puck (this prevents you from bending the pinch-weld jack points on the unibody)
Jeweler's small screwdriver
C-Clamp
Screwdriver (pictured) optional -- I ended up not using it. This job is too easy!
Torque wrench 1/2" drive

After Install Tips:
Remember to use this as educational reference only. If you choose to perform your own work, remember to work with a friend, wear safety glasses, work on a level solid surface, apply the parking brake and never go under a car supported only by a jack alone. Use quality sturdy jackstands if you need. In this case, I did not personally choose to use jackstands as I never at any point placed myself under the car.

After you install your new brakes, remember to firmly press the brake pedal a few times before taking off. Failing to do so may result in loss of brakes. Just a few pumps after start up does the trick to firmly seat the calipers, pads, and rotors.

I took the car on a test drive in an open area without cars and firmly stopped the car from 55 mph to 5mph 3-4 times in a row. This seats the new pads on the rotors. This may or may not be necessary but I did it anyway. The car performs as good as new. No noises whatsoever.

I chose to not use any lube or cleaning supplies. It's recommended to, but personally I did not use any. I feel the brakes will be dirty no matter what and the car stopped and sounded just fine at 11,100 miles and will be the same with 11,101 miles with new pads. And sure enough there's no difference. Car brakes flawlessly. No noise.

Though this job was EXTREMELY easy, I must say If you feel unsafe or unsure about working on your car, consult a professional mechanic or your local Lexus dealer. Be safe!

Fun Fact
Lexus uses Textar for their F-Sport high friction pad supplier. This is the company BMW has been using for decades for their brakes. No matter why this Lexus stops so good--it's using German BMW brakes!


Tools you'll need for the job. Yep that's it! I didn't even use that big screwdriver. Set the parking brake before lifting the front. This job is too easy. Also NO Need to turn the wheel or any of that non-sense.
The job is easy enough keeping the wheels straight. You don't want to turn the wheels when the car is lifted anyway, can be dangerous.


Use jeweler's screwdriver or other small tool to easily pull out pin. Comes out with minimal force. A baby can do it.


Use a small screwdriver to push the pin out. Again, minimal force by hand. No need to hammer, etc. Use the end of your screw driver to tap it out if you want. Remember to first remove the safety retaining pain.


After the retaining pin and retaining plate are out, go ahead and use your clamp and compress the old pad and the caliper together on the nubs shown in the photo. You are pushing the piston back in to make room for the new pads. Don't worry about getting it perfect, just enough to get the old worn pads out. Very easy.


Do the same for the inner pad. Pull the old pads out by hand. Easy.


Removing the old pads


Old pads left at 11,100 miles. About 4mm left. The metal wear indicator had not yet hit the rotor. On the right are factory Lexus replacement high-friction pads. $55. The pads with the metal indicators were on the inside so I replaced them the same way. I don't know if it's a huge deal that they go on the same way, but I did in anyway. Maybe the inside pads wear faster.


Once the pads are out, remember to remove the old shim plates (two per pad) and transfer them to the new pads.


The new pads slide in easy. If you are having trouble because there's not enough room, slide only the NEW inner pad in and use your clamp to compress the inner pad to give you a bit more room. Both new pads should drop right in with minimal fuss. Place the retaining clamp then use your hands to slide the retaining pin in. Minimal pressure is necessary. No need for hammers, etc. Lexus made this really easy to service. Don't forget to reinstall the little tiny safety pin. The straight end in.


A pic showing my thumb holding in the retaining clamp as I push the pin in by hand. One-handed operation! Easy! Don't for get the safety retaining pin on the large pin. It's very tiny--don't forget it!


30 minutes later, including cleanup, all-buttoned up. Don't forget to torque your wheels down properly 80 ft-lbs +/-5. I used 81 ft-lbs in a star pattern.

Gloss vinyl wrapping your Lexus trim! Windshield post trim wrap

BLACK GLOSS WRAP

This is how Lexus should've made these cars from the factory but the costs to paint everything out would be quite a bit. The vinyl is SUPER cheap and easy to do with practice and best of all, instantly reversible.

Episode 7 of "The glossed series."

I set out to gloss out every flat unpainted plastic trim. I think flat plastic looks cheap and is cheap. Manufacturers do this to cut costs. Put it this way, you won't find any flat unpainted plastic on an S Class or even some Lexus models.

Anyway I thought about this for a while but never got around to it. I wondered why i didn't do it sooner. I glossed out my front windshield post trims. It took literally 3 minutes per side. Lay a strip of vinyl, press it out with a wrap glove, and cut with a razor blade (sharp purpose made crafting blade) and the results speak for themselves.

Here's the vinyl and ONLY vinyl I'll use: https://amzn.to/32P1LFv
The razor: https://amzn.to/2Jrbuu8 (best blade in the industry) don't use any other type of blade, especially those home depot generic ones. you need a precision crafting blade.

It helps to have a heat gun to cement the vinyl down. not completely necessary.

Of course wipe and clean with alcohol -- extremely important.

Here's a before and after shot. Note the plastic trim next to the windshield on the A pillar.

Note my other trim is glossed out as well. same for the A pillar triangle posts, B pillar posts, rear quarter glass strip. Running out of things to gloss. Next on my project are the rear bumper bezels and inner mirror frames. On the Lexus GS, these are painted gloss black and look so good. But the IS, RC, CT (same mirrors) have them in unpainted plastic to save costs. It should be easy to lay down some adhesive promoter, base, and clear over the mirror inners. I may do the entire mirror and remove the vinyl but the vinyl looks good for now. Super glossy nearly like paint.


Yes my lower strip is chipped up. i want to get the stock chrome strip from the 16+ models. it's like $250 though. a hard pill to swallow. waiting for a used one to show up. I may wrap it too but that would require removal of the bumper to do it right. This piece doesn't wrap well due to the curvature.

Lexus CT200h (11-19) oil change DIY!

Hello! I realize there's probably tons of DIYs on this, possibly on Prius forums. But wanted to add my own simplified take on it. I like to show efficient/cheaper ways of doing things, while maintaining excellent quality. I hope this encourages those to DIY. Just use common sense and be safe. If you don't feel comfortable undertaking an oil change, definitely ask a friend for help or see a mechanic. But really, it's easy! Just go slow and don't strip the oil drain plug. Also for those who want, you can modify your oil filter housing as someone posted earlier to accept the newer style 16+ Prius, 18+ Corolla style metal oil filters.

I purchased my car with 40,000 miles on it. Dealer said they did an oil change but I do not think so. You be the judge. The filter did look pretty good and a peak inside the valve cover looks clean. The oil looks as if it has about 8-10k miles on it. Peace of mind! I plan on changing the oil around every 7,000 miles or so. I may invest in an extractor to make things even simpler. Or even relocate the oil filter to the top of the engine for a double-whammy simplification. Never need to lift the car again!

Anywho...

I purchased literally everything on Amazon. Got everything to my door the next day. Too easy lol. What you'll need:

1) Oil. I used Castrol Magnatec 0W-20. Not only is this oil the cheapest, there's a video series on youtube showing this oil has the best protection for high temp metal to metal contact. Beating out expensive oils. Win/win. This engine calls for 4.2 quarts. This jug is $20 (price can fluctuate) for a 5 quart container. So you'll have some left over.

2) Oil filter. Genuine Toyota

3) Oil pan o-ring 5-pack

You should have all these things. But if not, here's the tools:

Ratchet with 14mm socket and 10mm socket (14mm for drain plug and 10mm for bottom oil pan cover)

Toyota oil filter socket

Flat tip screwdriver (For little clip that retains oil filter housing--makes things easier if you remove it)

Rampy ramps

Oil drain pan

Oil funnel


Latex gloves


Drive car onto ramps. The electric motor makes this smooth. Put car in EV mode!


Perfect. Set parking brake! Place extra wheel/support/jackstand under car for extra layer of safety.


Pull dipstick out a few inches and remove oil cap and set aside.


The three main ingredients. Oil, filter, o-rings. Don't forget all three.


Remove the 10mm screws around the perimeter of this square drain pan cover using a 10mm socket and wrench. Be sure to reinstall the cover correctly after you are done.


Pic done for illustration purposes. Drain oil first. Then remove filter using the special tool. Remove clip with screwdriver to make things easier.


Drain into pan. Make sure there's no old gasket remaining.


While oil is draining, work on oil filter. Install new filter AND O-Ring (it comes with the filter inside the box)

Button up the bottom. Ensure everything nice and snug. You can use torque specs if you want which is 27 lbs for the oil pan bolt. I just made sure it's nice and snug. I'm usually a stickler for torque specs, but not on a plastic oil pan. Just tighten it down, but no need to use superhero strength. Do what you are comfortable with.

Refill car with 4.2 quarts of oil.

Check dip stick, make sure the fill line is somewhere on or around the top dot.